

Syntax Highlighting
February 19, 2020
Remember what you are
March 24, 2020
In this post I will be walking through the steps of implementing a Google Map into your Ionic 5 Android application. In this implementation, we will not be using an API key for our Google Map, so the map will be marked as “In Development”. If you are using a Google Map in a production product, you will want to generate an Google Maps API key (outlined here). With that being said — let us begin.
Installation
To install the Ionic Google Maps package in your app, cd into your project’s directory and run the following commands.
/* If you have a generated API key, use it here */
ionic cordova plugin add cordova-plugin-googlemaps --variable API_KEY_FOR_ANDROID="<Google Maps key for Android OR empty>"

npm install @ionic-native/core @ionic-native/google-maps
Add To Your App
Navigate to your app.module.ts file and add the Google Maps package as a provider as outlined in the following code.
....
....
import { GoogleMaps } from '@ionic-native/google-maps';

@NgModule({
  declarations: [AppComponent],
  entryComponents: [],
  imports: [BrowserModule, IonicModule.forRoot(), AppRoutingModule],
  providers: [
    StatusBar,
    SplashScreen,
    { provide: RouteReuseStrategy, useClass: IonicRouteStrategy },
    GoogleMaps
  ],
....
....
Implement On Page
Now that GoogleMaps has been added to your App as a provider, you can implement it on a page. Add a div to your desired page, making sure that it has height. This div will be used as the container for the Google Map, so it will need an id that can be used for the Google Maps package to identify it as the element to use.
<ion-header>
  <ion-toolbar>
    <ion-title>
      Google Map
    </ion-title>
  </ion-toolbar>
</ion-header>

<ion-content>
  <div id="map" style="height:100%;"></div>
</ion-content>
Now that your html page has a container for the Map, we can add the code to instantiate the map in your[page-name].page.ts file. Your Page file should look something like the following code.
import { Component } from '@angular/core';

/* Import all of the required Google Maps entities from the google-maps package */
import { GoogleMaps, GoogleMapsEvent, LatLng, MarkerOptions, Marker } from "@ionic-native/google-maps";

import { Platform } from "@ionic/angular";

@Component({
  selector: 'app-home',
  templateUrl: 'home.page.html',
  styleUrls: ['home.page.scss'],
})
export class HomePage {
	constructor(public platform: Platform) { }

	/* Only instantiate the map AFTER the view is initialized and the DOM is accessible */
	ngAfterViewInit() {
		this.platform.ready().then(() => this.loadMap());
	}


	loadMap() {
		/* The create() function will take the ID of your map element */
		const map = GoogleMaps.create('map');

		map.one( GoogleMapsEvent.MAP_READY ).then((data: any) => {
			const coordinates: LatLng = new LatLng(41, -87);

			map.setCameraTarget(coordinates);
			map.setCameraZoom(8);
		});
	}
}
At this point, you should be ready to test the app on a real device. Using an Android device with USB debugging enabled, connect your device to your computer and run the following command.
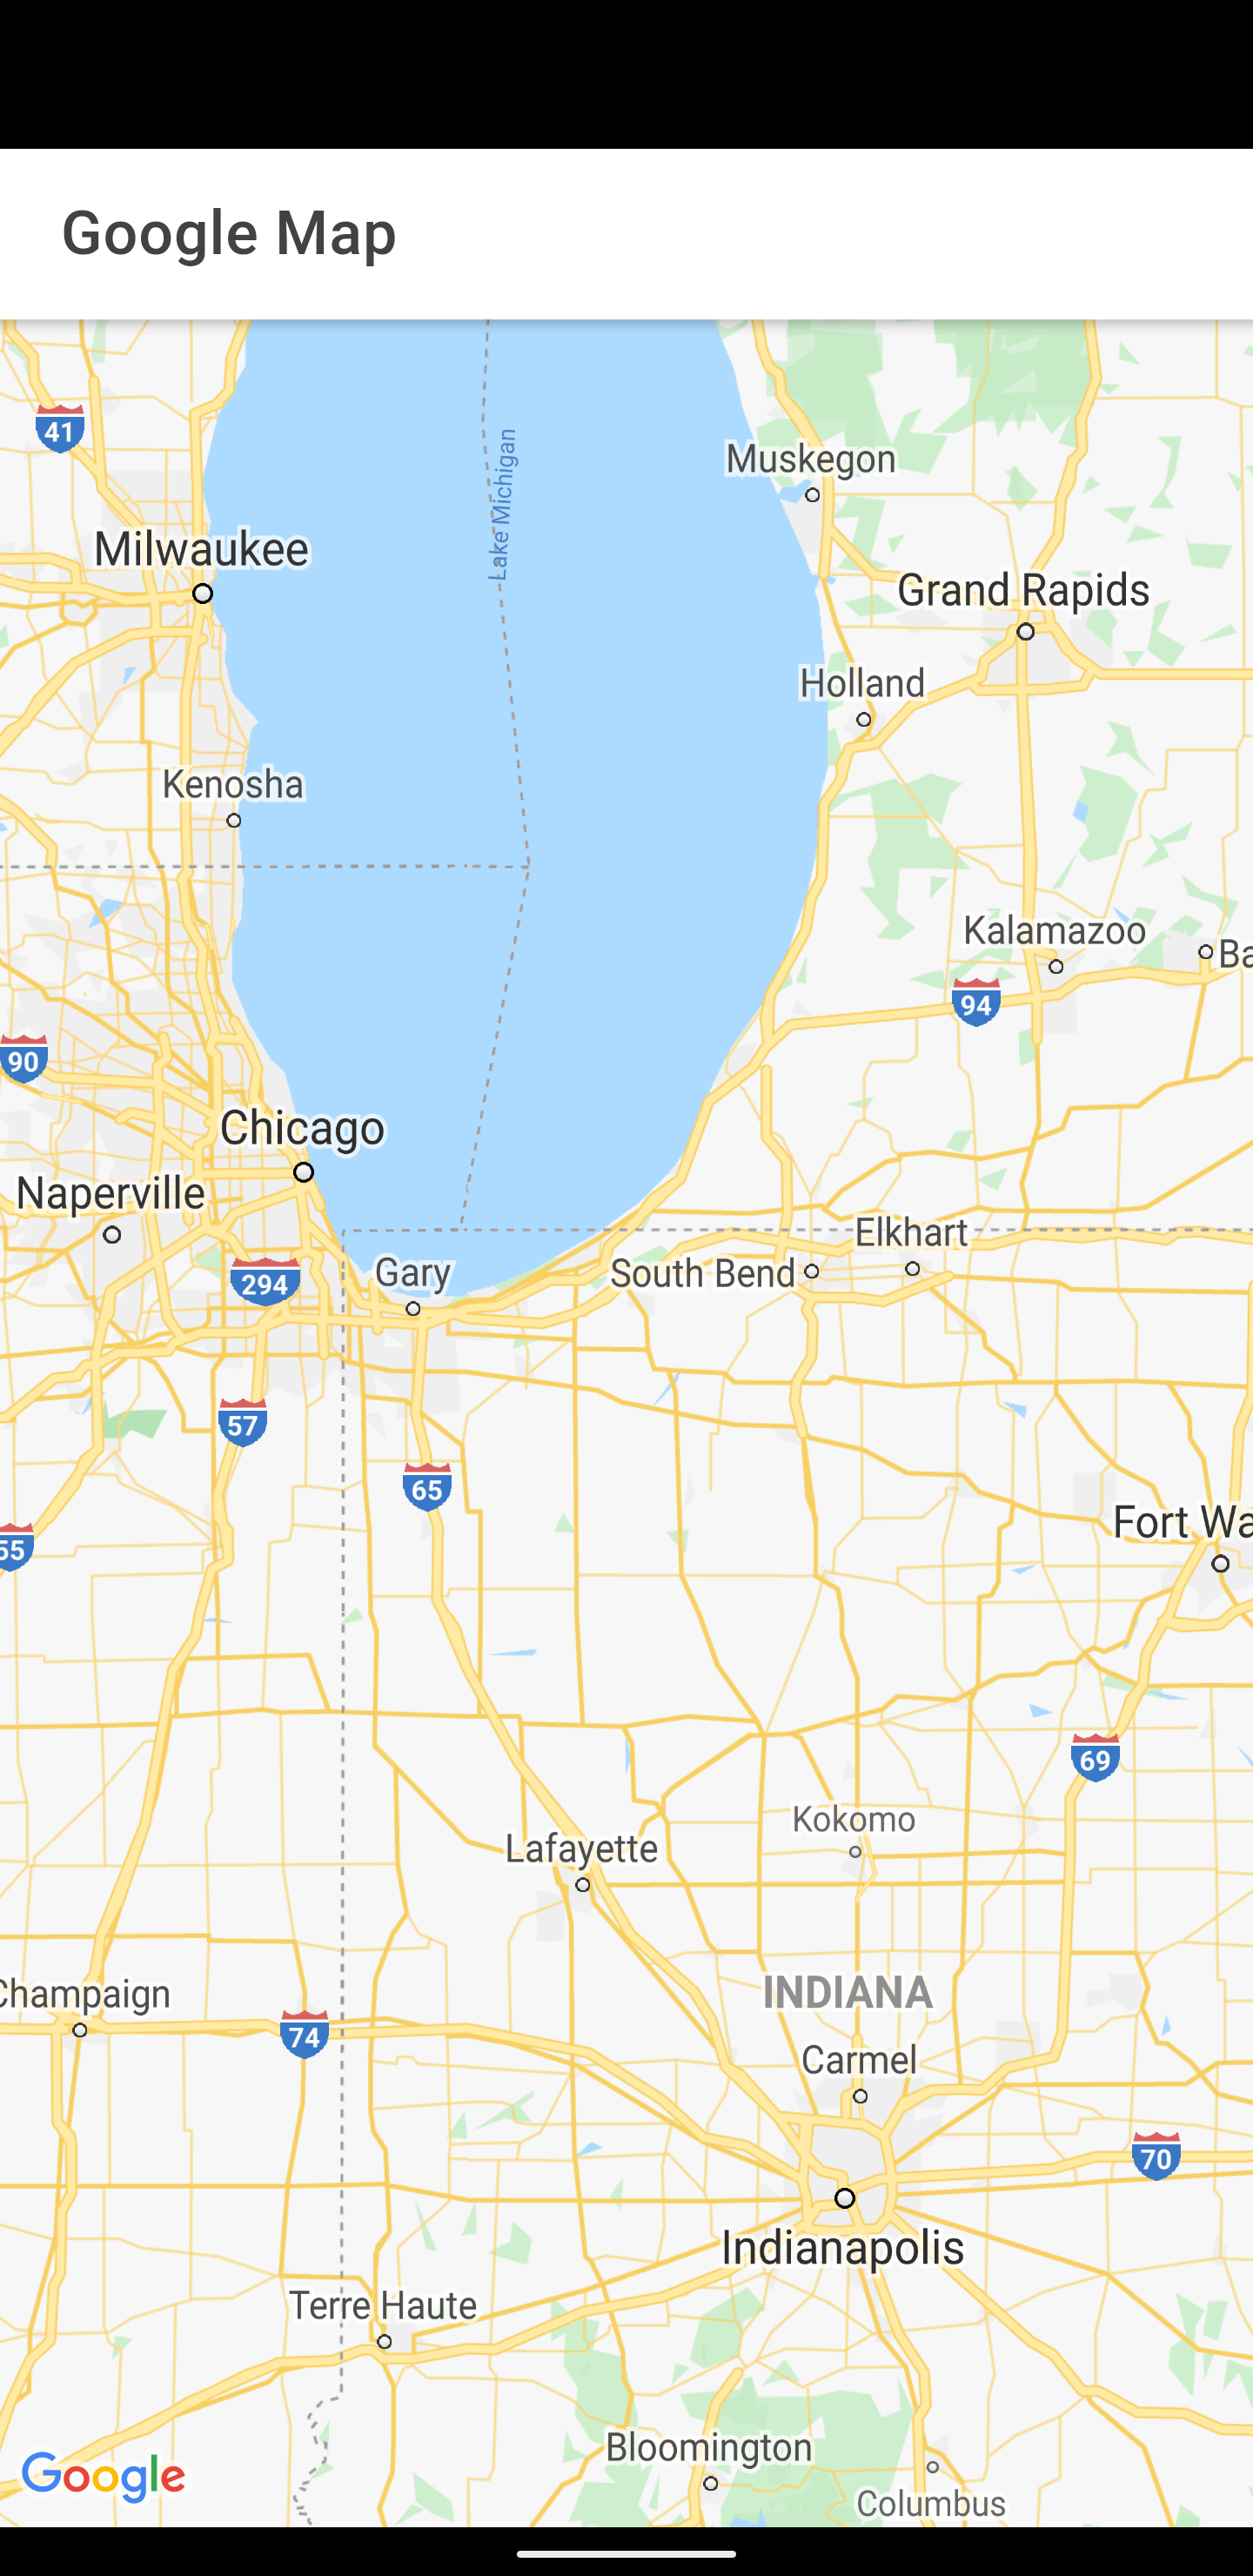
ionic cordova run androidThis should compile, build, and run the application on the target device. If everything was successful, the application should open automatically on the device, and a Google Map should be displayed on the page.
6 Comments
Hi Haeven, for me the shows Google logo but the map isn’t loaded. Can you experienced something like this?
I already discovered what happens: https://github.com/mapsplugin/cordova-plugin-googlemaps-doc/blob/master/troubleshootings/graymap/README.md
This is half the truth as it is not compatible with capacitor, probably the newest feature of ionic5. The example is compatible to ionic2, 3, and probably 4 as well.
Good point. We have changed the post title. Thank you for your feedback!
Hi Haeven, how to calculate distance from source to destination
Here is an example function to calculate distance (in JS): https://www.codepile.net/pile/Y2kmjj1z